

It’s always fun to have some festive touches of green around the house for St. Patrick’s Day, especially when the weather hasn’t quite switched over to spring. Here in Kentucky, it is pretty grey this time of year and touches of green make a world of difference.
Ribbon and fabric wrapped wreaths are some of the easiest to make, so this wreath is perfect for beginners and is very budget friendly! Here’s what I used:
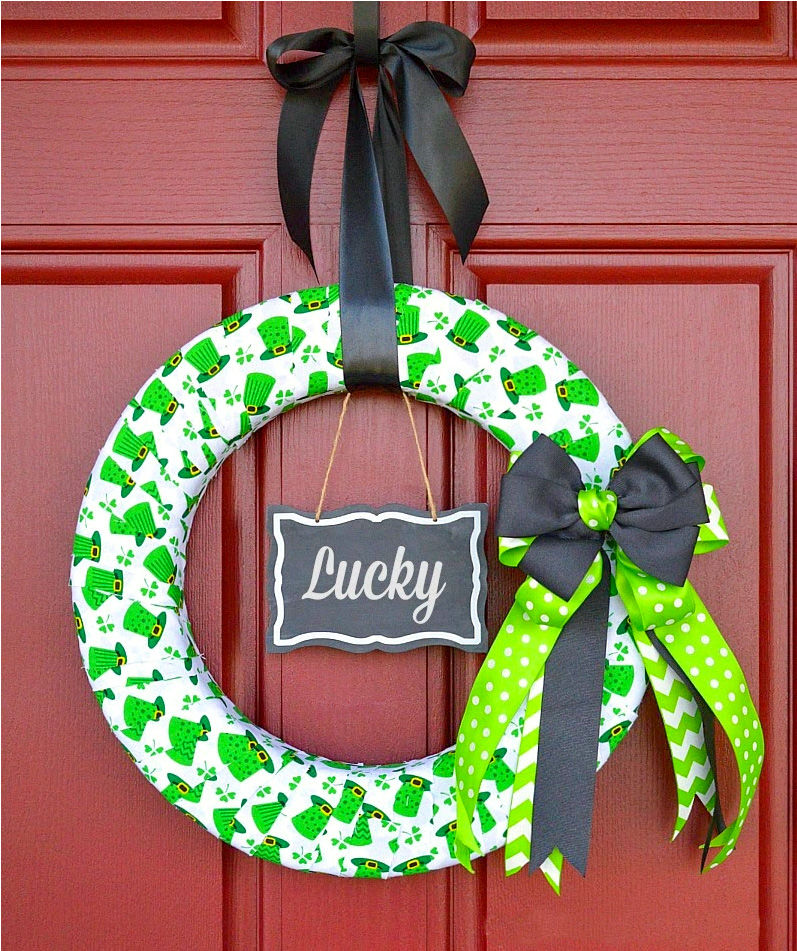
Supplies
2″ x 15 3/4″ Styrofoam wreath form
1 yd. St. Patrick’s Day pattern cotton fabric, cut into 3″ wide strips (Hobby Lobby)
1 1/2″ Black, green chevron, green polka dot ribbon
Hot glue gun
Hanging chalkboard tag
Directions
1. Cut fabric into 3″ wide strips (I cut the length of the fabric).
2. Wrap the wreath with the fabric, gluing the ends of each piece to the wreath.

3. Make a bow (or in my case, two bows–one with the green ribbon, a smaller black one to go in front of the green one) and attach it to the wreath with hot glue.
4. Write your message on the chalkboard tag and attach it to the top inside of the wreath with the glue gun. Tie your hanging ribbon and that’s it!
For more St. Patrick’s Day inspiration, check out the Seasonal Crafts page!
This post was featured in the Huff Post.
![]()