
Did you catch last night’s FB LIVE? I ran into a few technical difficulties but we still had a lot of fun! Anyway, I’ve included the video below and you’ll love it because we made a cute little pumpkin. When I first made a canning ring pumpkin, the whole rustic/burlap/mason jar thing was in style. Anything that had to do with Mason jars was more expensive than it is now.
But now, you can find a pack of 12 canning lids and rings at Walmart for $2.48. So not only is it a cute and easy craft, but it’s cheap too! Make your pumpkin as unique as you want–paint it, let it sit out in the rain and rust a little, add some Washi tape to it…this is definitely a craft that you can make your own. Ready to get started?
Here’s what you need:
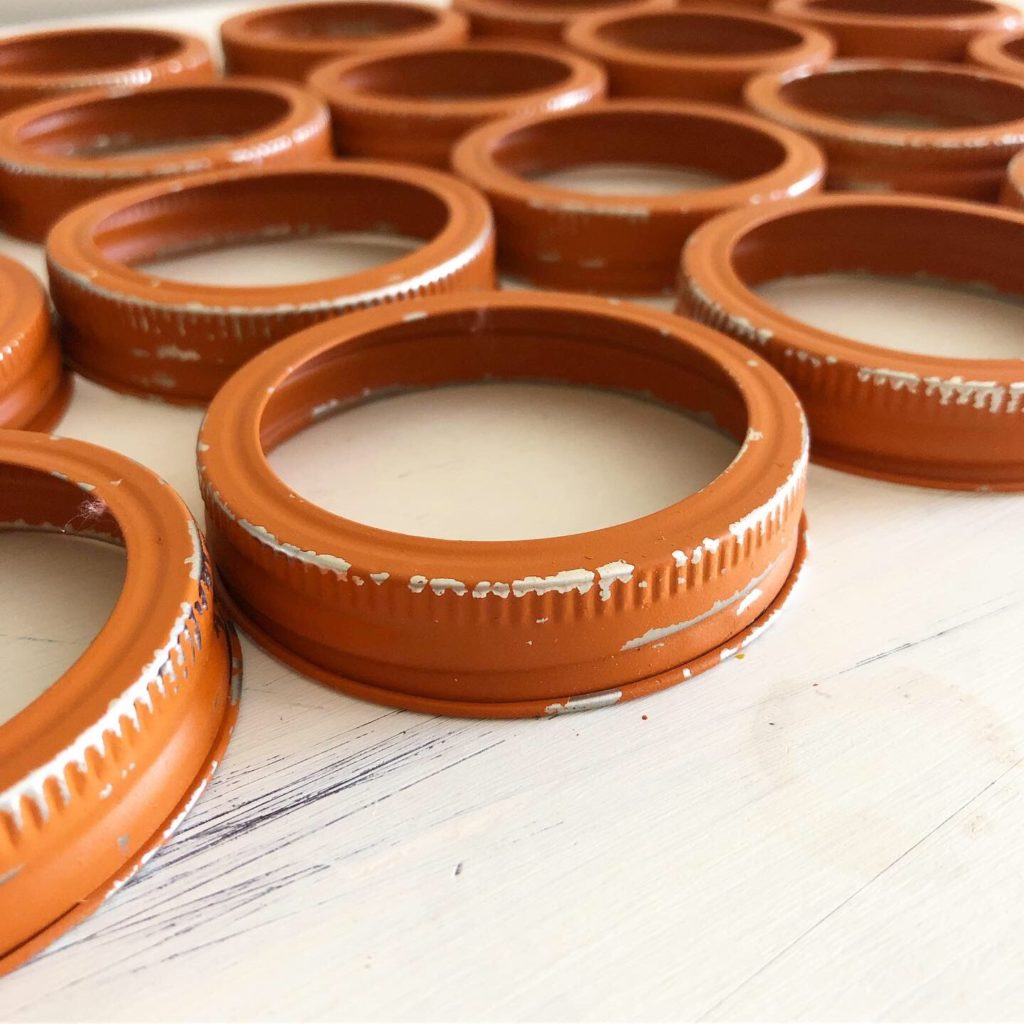
20 regular mouth canning rings
Jute, yarn or other kind of string
Cinnamon sticks
Burlap ribbon (Cut leaves out of this.)
Spray paint (optional)
Directions:
- If you want a painted pumpkin, go ahead and paint them first. Let the rings dry overnight before moving on to the next step.
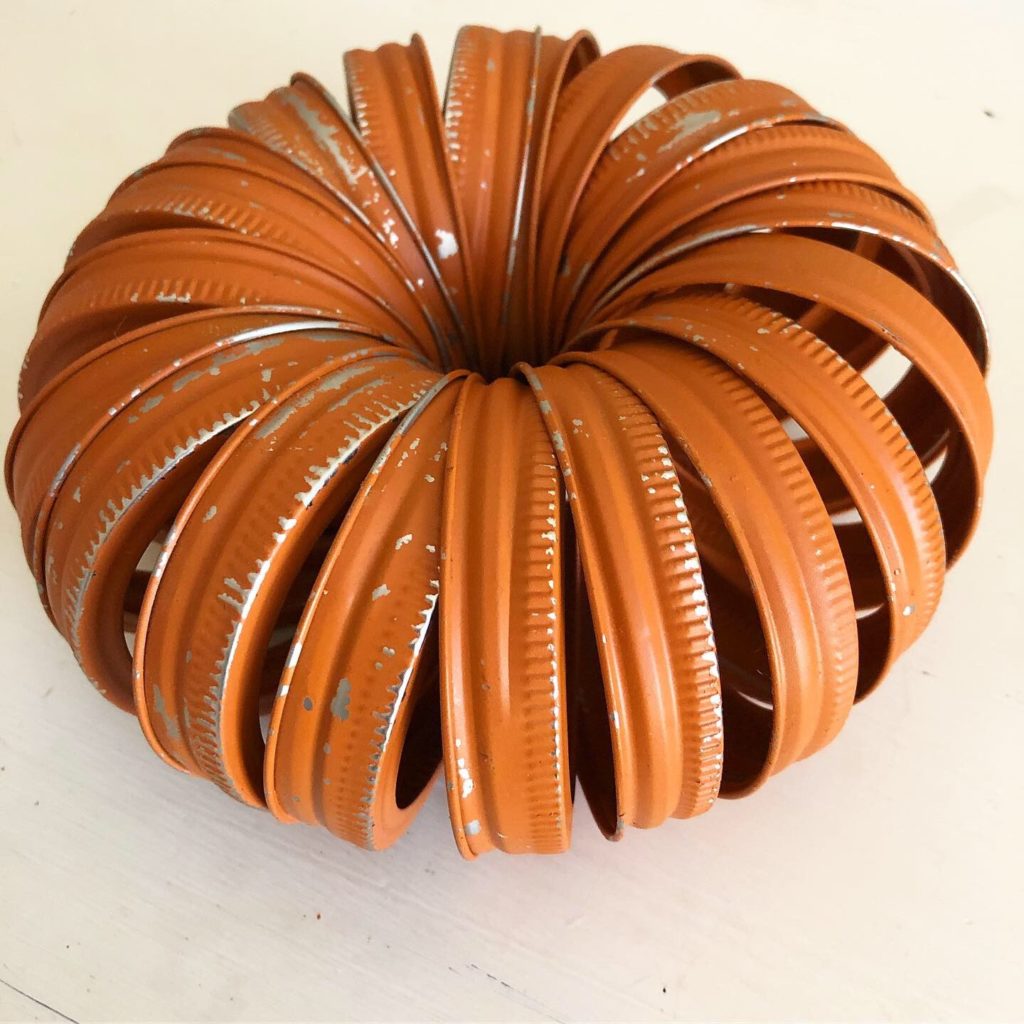
- Make sure the lids are all facing the same direction and put them onto the string.
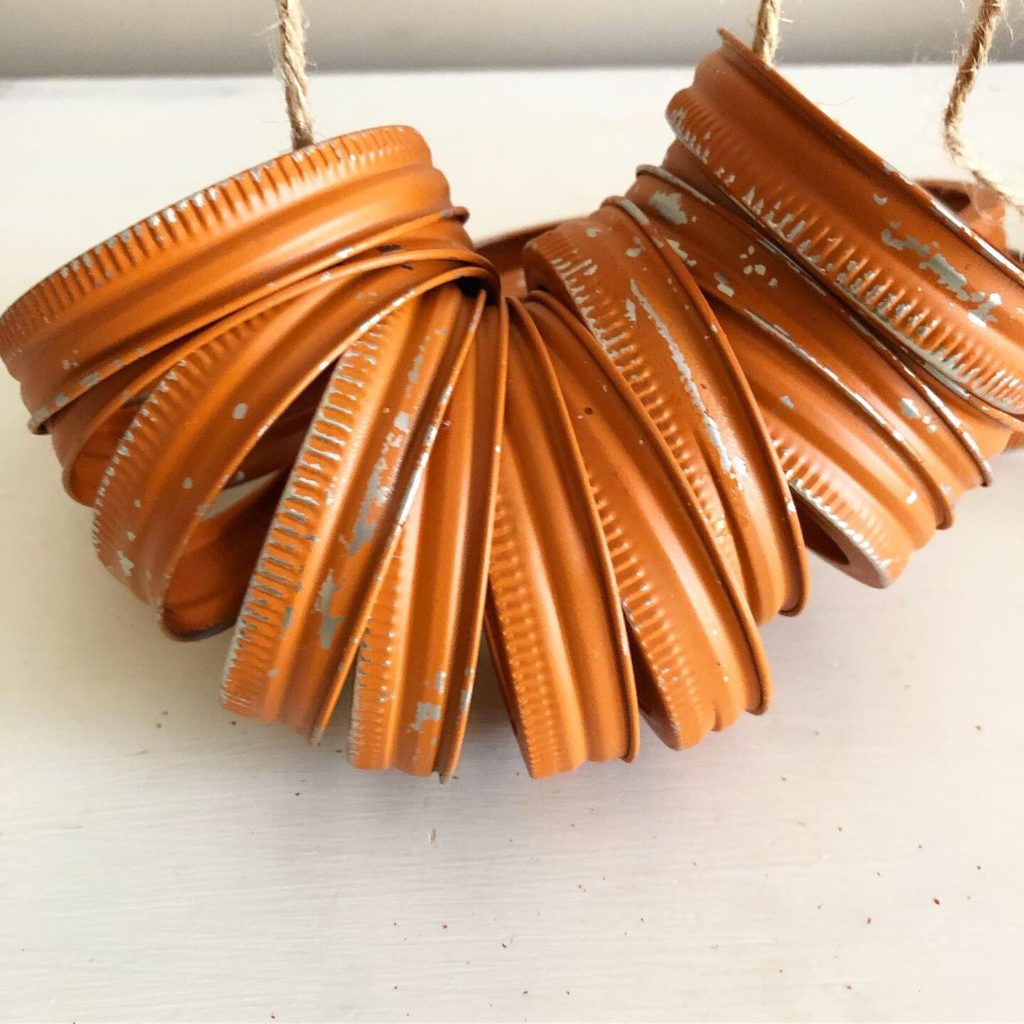
- Tie the string tightly and cut off the excess.
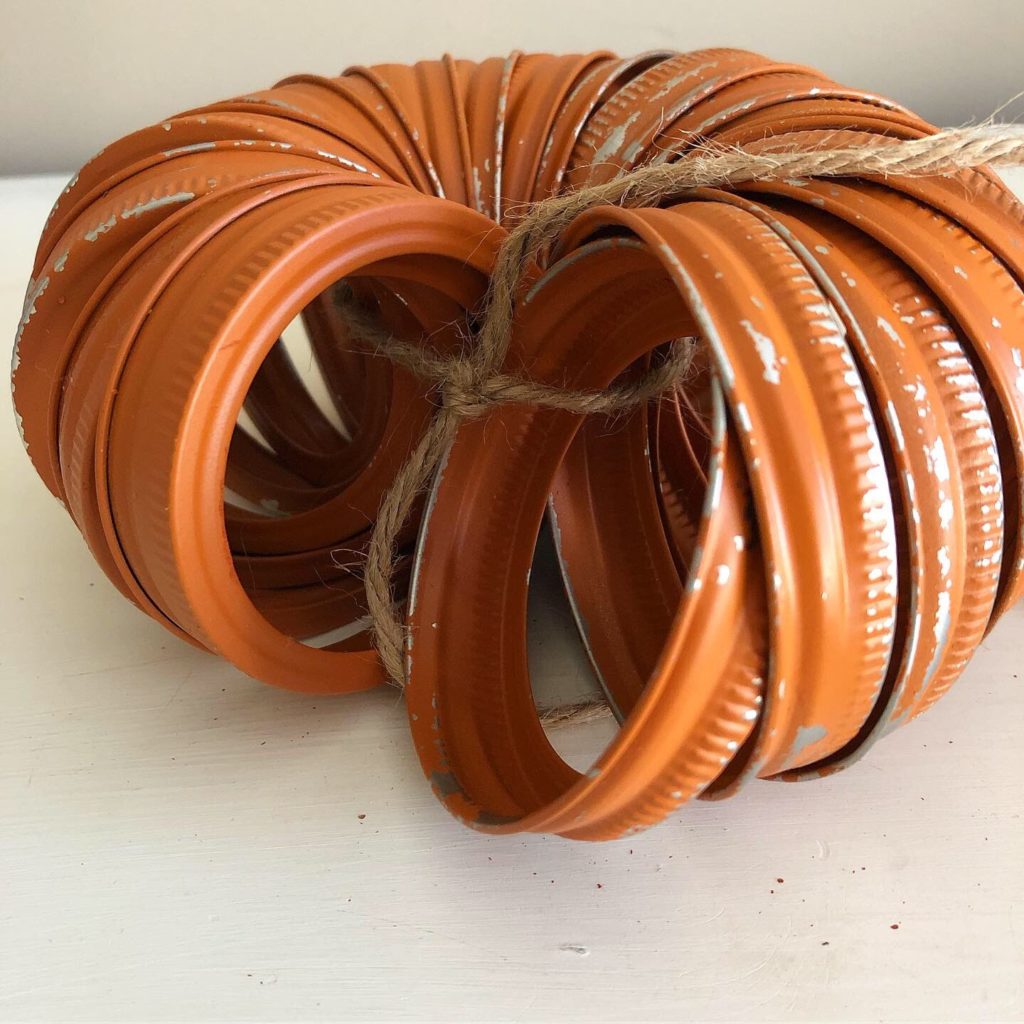
- Arrange the canning rings so that they’re equally spaced.
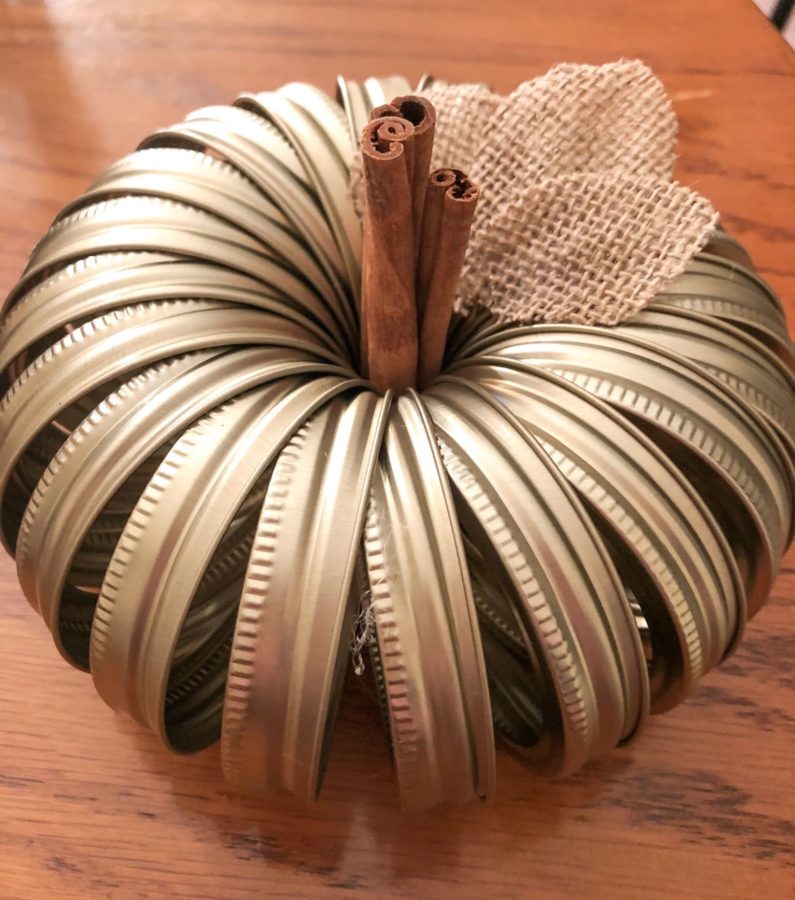
- Place cinnamon sticks in the middle for the stem.
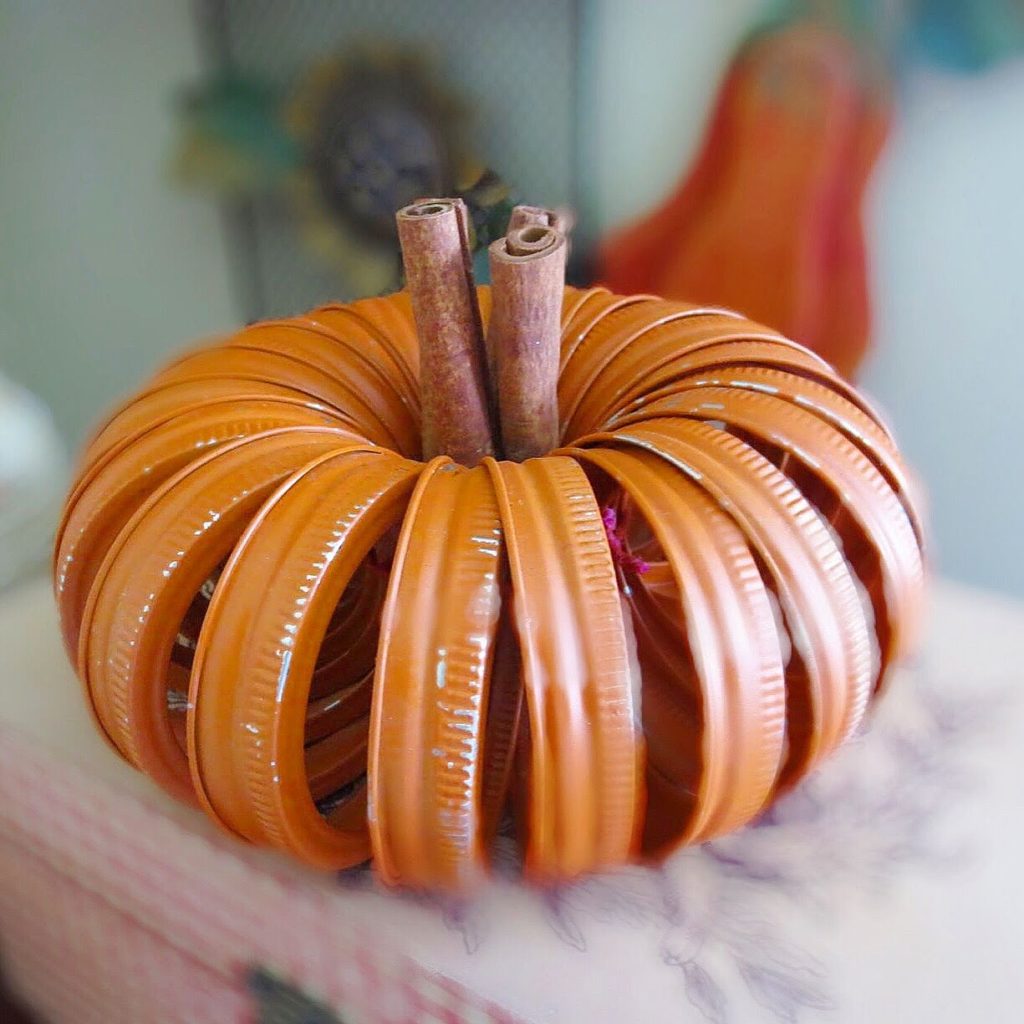
- If you would like to add leaves, just cut out leaf shapes from the burlap ribbon and glue to the cinnamon sticks or the inside of the canning rings. Here’s an example:

That’s it! Your canning ring pumpkin is finished! For more fun seasonal craft ideas, check out the Seasonal and Holiday page!