
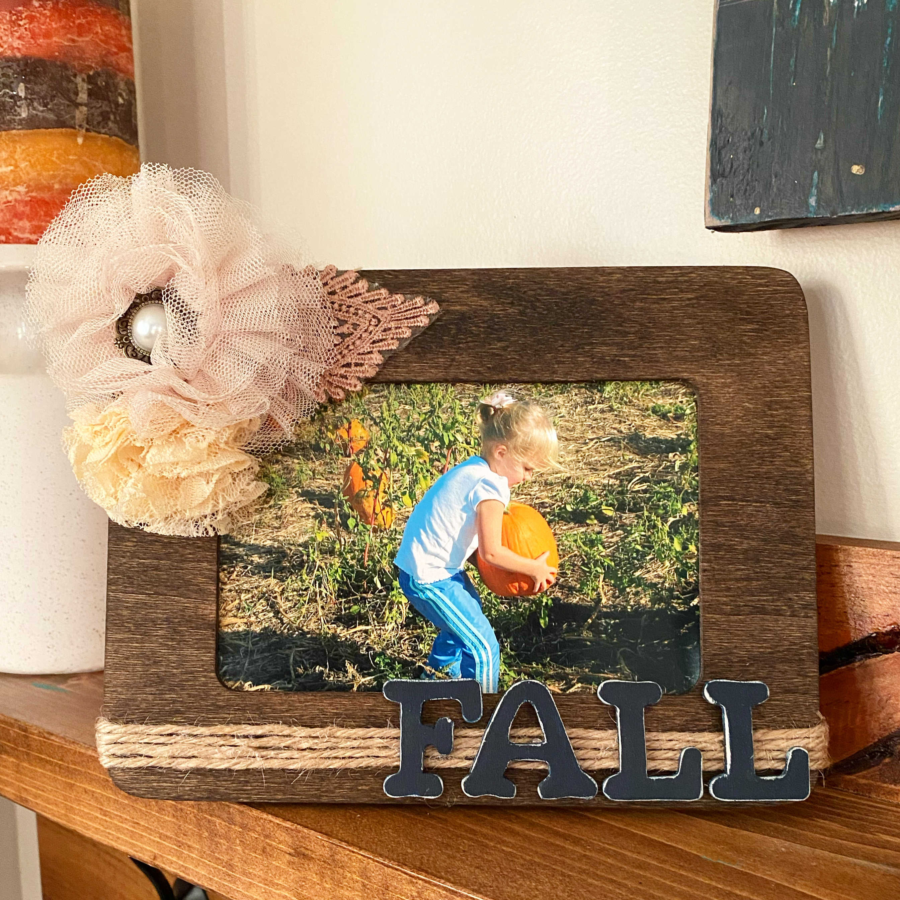
Ever passed those .97 wooden craft picture frames at Walmart and wonder if you could make something cute out of it? Sometimes without a picture of the end result, it is hard to visualize what a plain piece of wood could look like. I get it and I’m here to help. Using just a few extra supplies like stain, jute string, wooden letters and fabric flowers (which are actually hair accessories), you can turn a cheap wood frame into pretty fall decor. Here’s what you need:
Supplies
Unfinished wooden craft picture frame (Walmart .97)
Wood stain (I used Minwax Dark Walnut)
Jute string
Fabric hair accessory (Hobby Lobby)
Unfinished wooden letters, 1.25 in. (Walmart or Hobby Lobby)
Navy blue craft paint
Nail file or small piece of sand paper
Glue gun and glue sticks
Directions
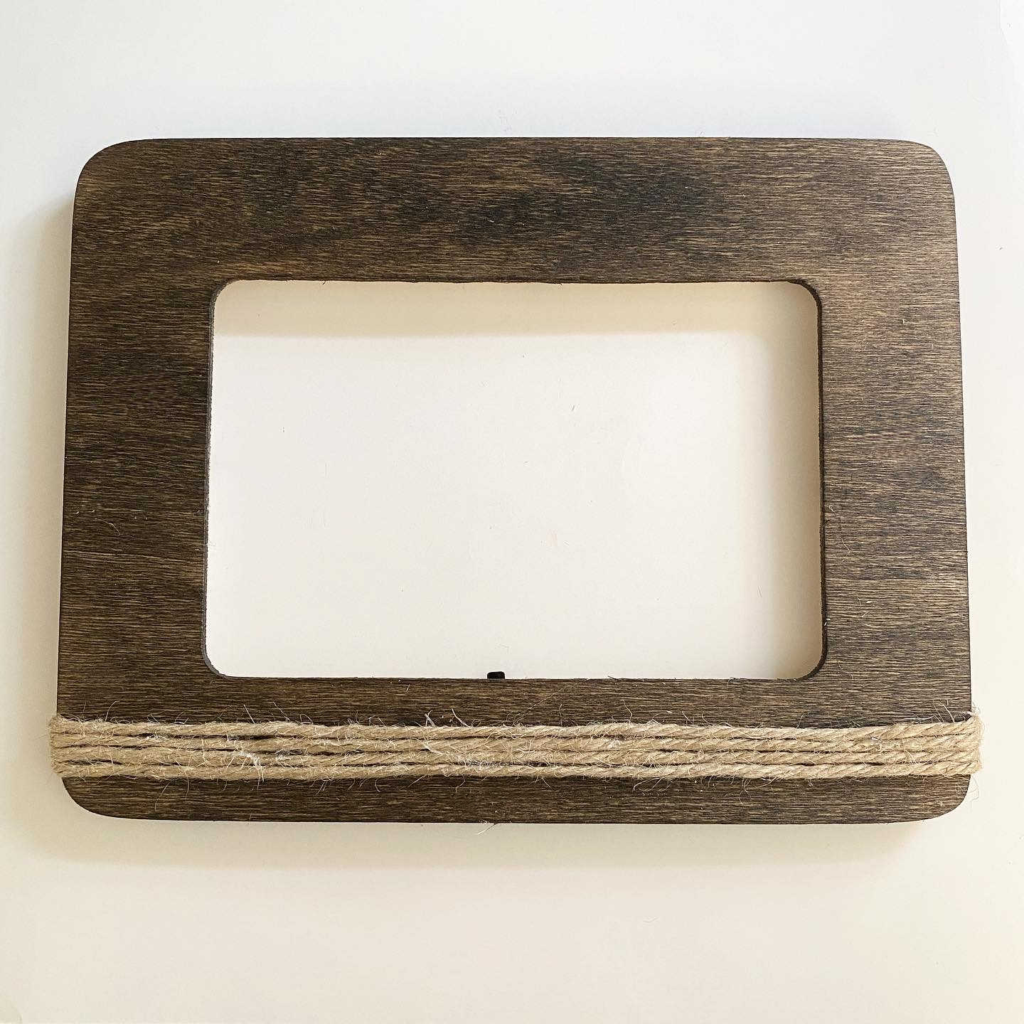
- Lightly sand the unfinished picture frame and wipe clean. Using a rag or tack cloth, apply stain to the frame, including the edges. Allow to dry until the frame is not sticky to the touch.
- Wrap jute string tightly around the frame 4 times. Glue the ends to the back with your glue gun. I put dots of glue between the strings on the front too, to keep them from separating.
 Cut the hair accessory to fit the frame and paint the wooden letters navy blue.
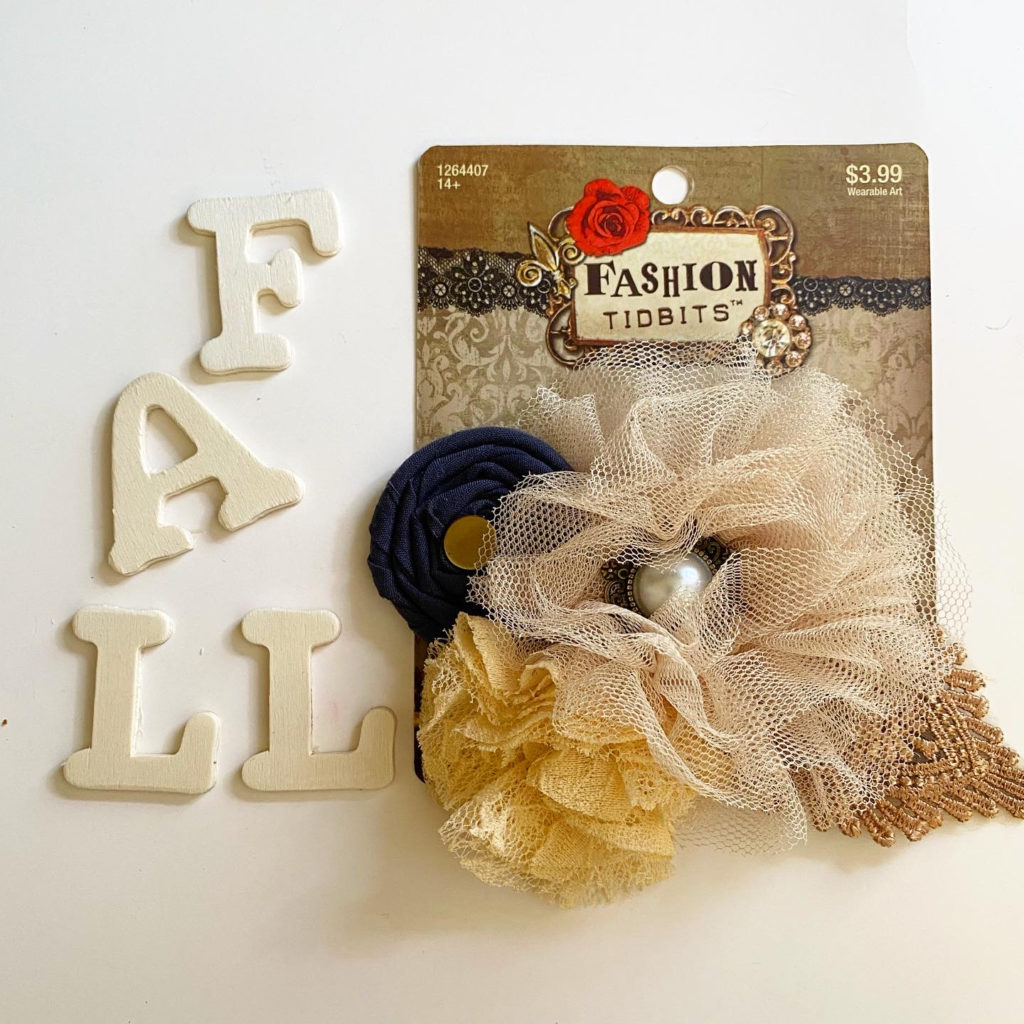
- When the paint dries, lightly sand the edges with a nail file or a piece of sandpaper. Glue the fabric flowers to the top left corner and the letters to the bottom right corner.
- Add your favorite fall picture and your frame is ready to go!

Wasn’t that easy?
For more simple and pretty fall craft ideas, like this turquoise fall picture frame, visit the Fall and Halloween page!