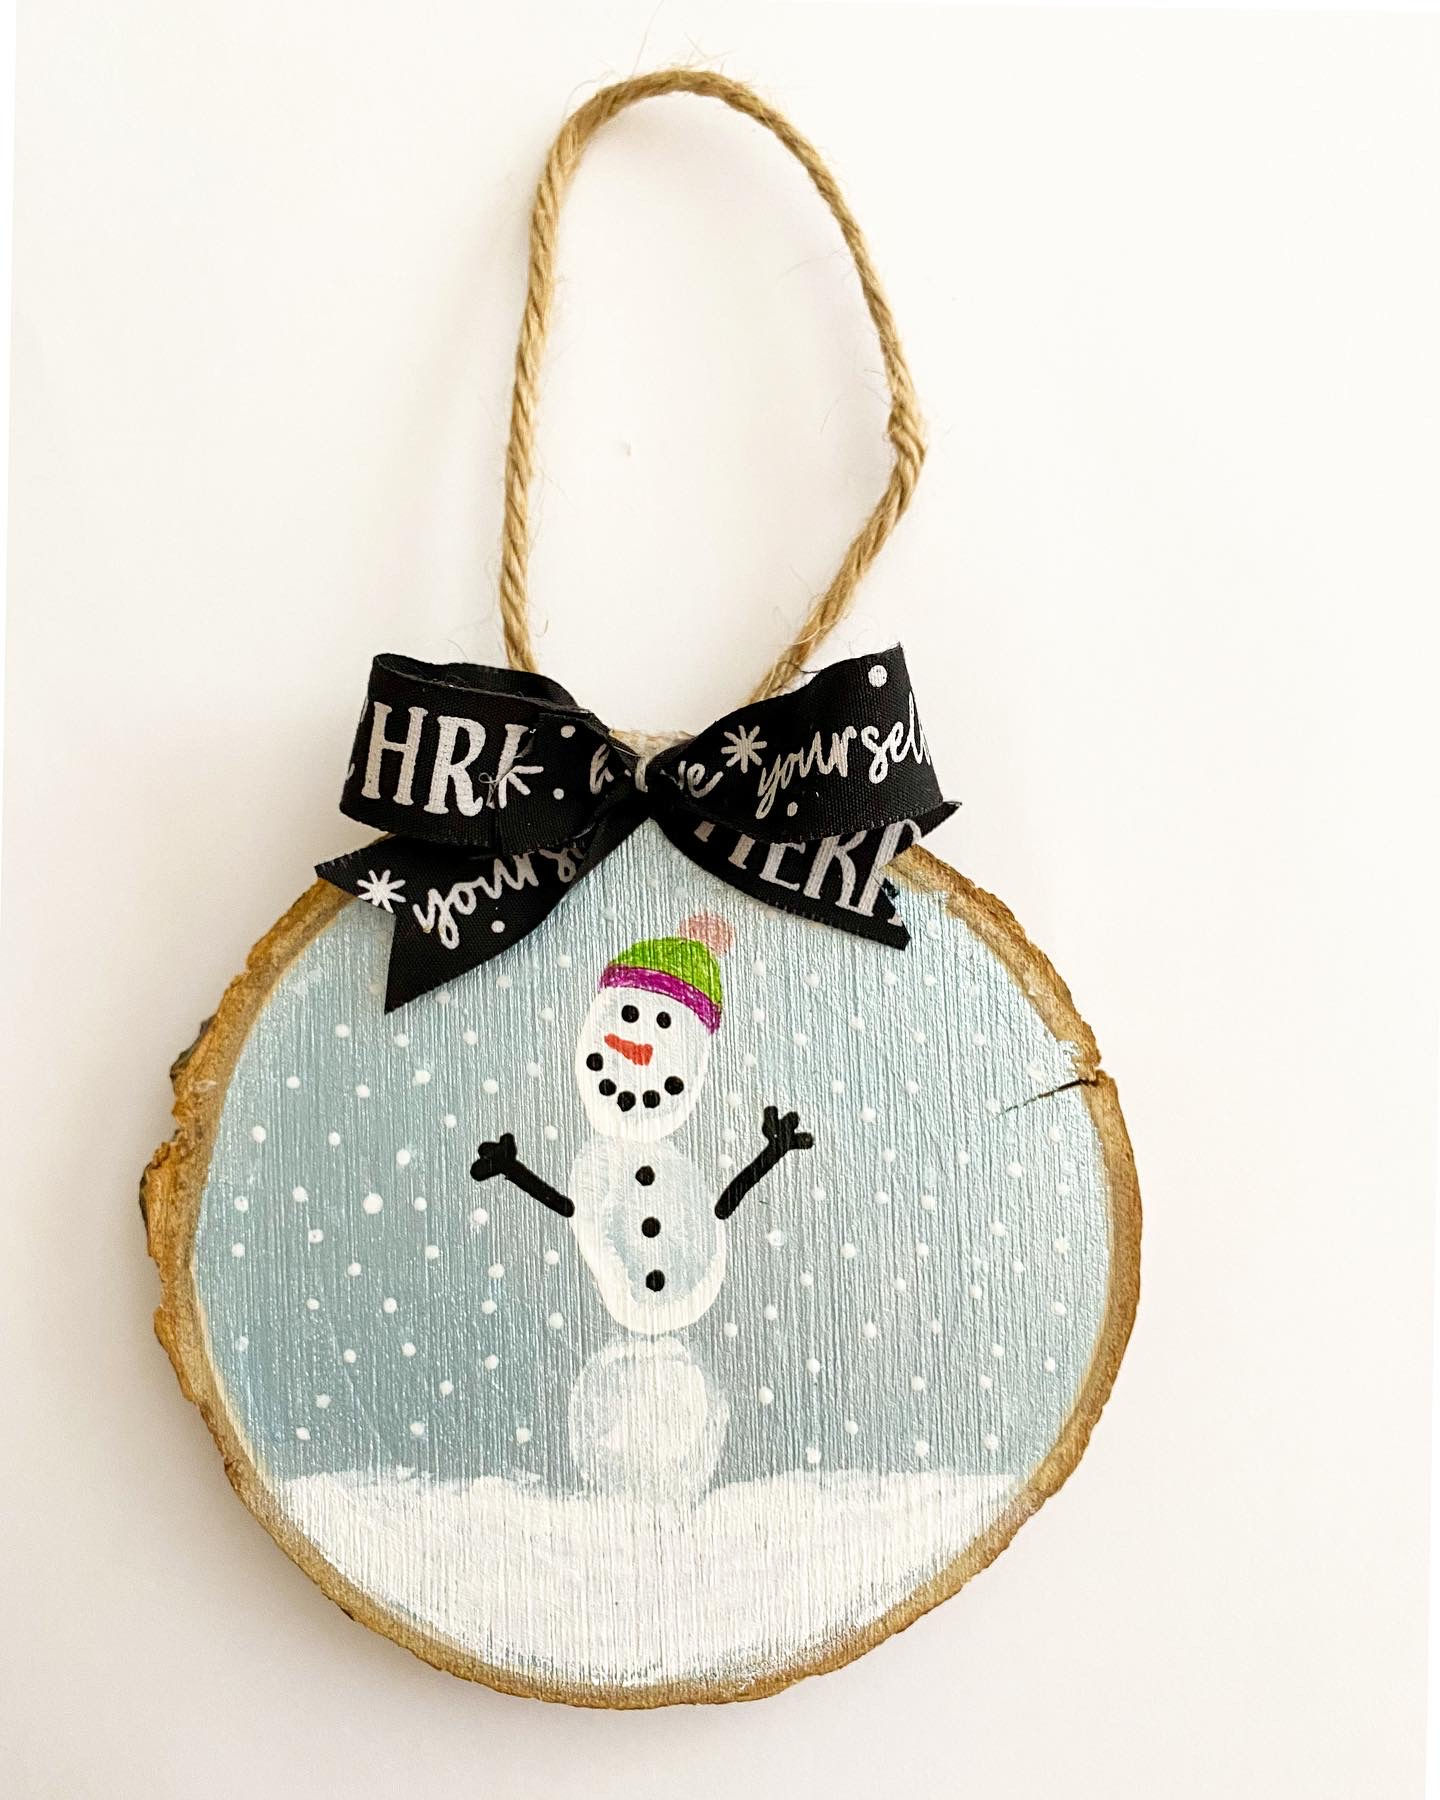
Capturing the ages and interests of my kids with ornaments, whether it’s a picture, a footprint, a ribbon showing how tall they were that year, or this year—thumbprints—brings me so much joy.
Every year, I open the box of ornaments and am always amazed to see all of the personalized ornaments and how they’ve changed from year to year. It’s very special. So for our tree this year, as well as for teacher gifts, the kids are making these adorable thumbprint snowmen. Here’s what I used:
Supplies
Wood chip cutouts (usually come in a pack of 4 in the craft section)
fine grit sandpaper
Folk Art Metallic Ice Blue craft paint
White craft paint
White paint pen (ultra fine)
Black paint pen (ultra fine)
1/2″ Christmas ribbon
Directions
- Sand each side of the wood chip and wipe off.
- Paint one side of the woodchip metallic ice blue. Let it dry, and then paint the other side.

- Paint your child’s thumb with white craft paint and place on the wood chip. Repeat this two more times, making the shape of a snowman.

4. Using a black ultra fine paint pen, draw stick arms, buttons, the eyes and the mouth. I used a fine tip orange Sharpie for the nose. You can leave the snowman as is, or make a top hat or sock cap using Sharpie markets.
5. Using white paint, add a bed of snow underneath the snowman. Then take an ultra fine paint pen to add snow around the snowman.

6. Glue a 4 in piece of twine in a loop to the top of the ornament for hanging. Add a small bow to the front, at the base of the hanging loop, using thin ribbon. You can also attach a small pre-made bow.